
How to Get a Permesso di Soggiorno in Italy Step by Step
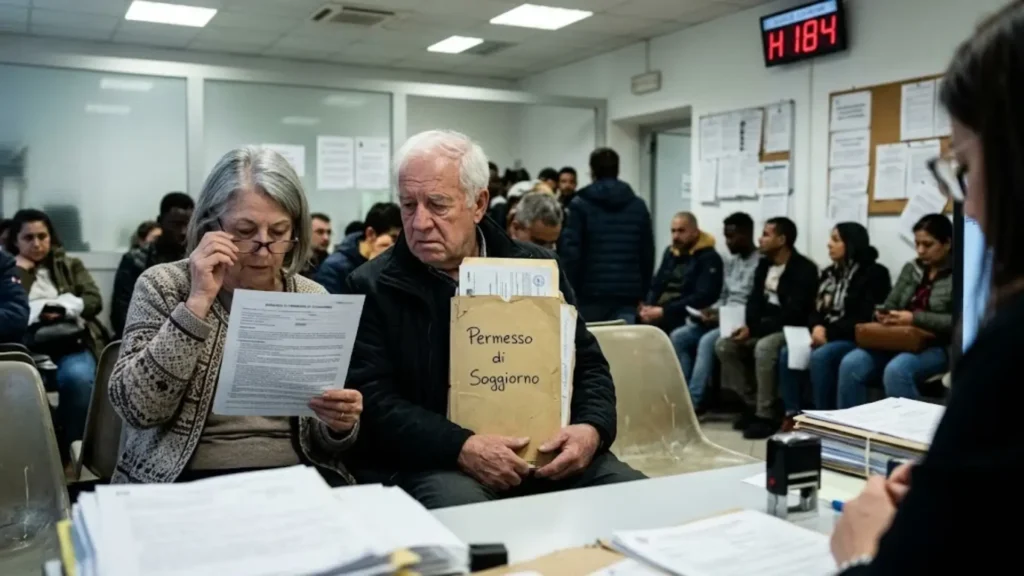
Quick answer: If you arrive in Italy on an elective residence visa (or most other long-stay visas), you must apply for your permesso di soggiorno within 8 working days of entering the country. The process runs in a fixed order: collect the yellow kit (kit giallo) at a post office with a Sportello Amico counter, fill it in, buy a €16 marca da bollo at a tobacconist, pay the fees (about €116.46 in total for a one-year permit), submit the open envelope with photocopies of your documents, then attend the Questura appointment with the originals to give your fingerprints. Meanwhile, you can already request residency registration at the Comune with the post office receipt, and children under 14 are added to a parent’s application (from 14, they need their own kit). The permit is usually issued for one year at first, and renewal should be requested at least 60 days before it expires. You’ve landed, your visa did its job at the border, and now a deadline you may have only half-noticed is running: the permesso di soggiorno (residence permit). It turns your entry visa into a permit to actually live here, and it’s the step newcomers find least intuitive, because it runs through the post office and the police, not the town hall. This Italian residence permit (Permesso di Soggiorno) guide walks through it in order, with the documents, fees, and official links for each step. It’s written for retirees and other non-EU citizens arriving on the elective residence visa, with short notes on other permit types. The rules are national, but each Questura has its own habits, so treat this as a map and confirm the details with your own office. Who Needs a Permesso di Soggiorno (Residence Permit in Italy)? Non-EU citizens: yes. EU citizens: no. Non-EU citizens who want to stay in Italy for more than three months must apply for a permesso di soggiorno, as Poste Italiane’s official guide explains. EU citizens don’t need one: beyond three months, they register their residence at the Comune instead (see our guide to moving to Italy with an EU passport). Non-EU family members of EU citizens follow a different route, covered in our guide for EU citizens moving with a non-EU spouse. Permesso di soggiorno vs. residency registration These are two separate procedures handled by two different offices, and they get mixed up constantly. The permesso di soggiorno (or PdS) is an immigration permit, requested through the post office and issued by the Questura (the police). Residency registration (iscrizione anagrafica) is handled by the Comune. The permesso comes first because it carries the hard deadline. Our guides to registering your residency and registering your address in Italy cover the Comune side. You don’t have to wait for the card, though: once you’ve submitted your kit and hold the post office receipt, you can already request your residency registration (see While You Wait below). The Process at a Glance Enter Italy and note the date: the 8-working-day clock starts Collect the kit giallo at a Sportello Amico post office (one kit per person over 14 years old) Fill in the kit and gather your documents Buy the marca da bollo and pay the fees Submit the open envelope at the post office and keep your two receipts Attend the Questura appointment for fingerprints, with the originals Track your application online or by phone Collect your permit when the Questura tells you it’s ready In parallel: once you hold the post office receipt, you can also request your residency registration at the Comune (see While You Wait below). Applying with children? See Applying With Children after Step 8. Step 1: Know Your Deadline (8 Working Days) The clock starts the day you enter Italy. By law, you must apply within eight working days. The Italian government’s integration portal says a delay is only justified by force majeure, while Poste’s page simply says “8 days”. Working days exclude weekends and public holidays, but don’t rely on that margin: aim to submit within your first week, and keep your boarding pass and entry stamp. Step 2: Collect the Kit Giallo at a Sportello Amico Post Office Only post offices with a Sportello Amico counter accept these applications, not every branch. For elective residence, first issue, renewal, and conversion all go through the post office (it appears as code 21 in Poste’s table of permit reasons). Find an authorised office Check the official list of post offices with a Sportello Amico (PDF) and pick the one closest to your Italian address. Collect your kit Ask for the yellow-banded kit for the permesso di soggiorno and show your ID. Each foreign citizen can collect only one kit, so couples each collect their own. The forms come with instructions, so read them before you write anything. Book an appointment (optional, but recommended) You can turn up without one, but you can book a slot for this service online (or in the Poste Italiane app) and skip much of the queue. Free help filling in the kit Poste notes that certain authorised Comuni and Patronati offer free, qualified help completing the kit. If you’d rather have someone with you at each stage, that’s what we do (see the end of this guide). Step 3: Fill In the Kit and Gather Your Documents Complete Form 1 (or “Modulo 1”) by following the kit’s instructions, and choose elective residence as the reason for your stay. Don’t complete Form 2 (or “Modulo 2”) unless you’re requesting the residence permit for employment reasons. Applying with children? Children under 14 are added to your kit; see Applying With Children below. You must fill it out using uppercase letters and a black pen. Don’t sign it yet; sign it in front of the clerk when you deliver the kit at the post office. Then prepare the envelope. It must go to the post office open, so
Italian Lease Terminology You’ll See on a Contract
Italian lease terminology explained clearly, so you can read rental listings and contracts in Abruzzo with more confidence and fewer surprises.
What Paperwork Do Expats Need First in Italy?

Wondering what paperwork expats need first in Italy? Start with the documents that make housing, residency, utilities, and daily life easier in Abruzzo.
Your Guide to Italian Tax Code Appointments: Step by Step

A calm guide to Italian tax code appointments: where to apply, what to bring, and how to avoid common delays as you begin your new life in Abruzzo.
What Requirements Must You Meet to Live in Italy?

What requirements must you meet to live in Italy? EU citizens, non-EU retirees, remote workers — here’s what each path actually involves.
Best Documents to Prepare Before Relocating to Abruzzo, Italy

The best documents to prepare before relocating to Abruzzo (Italy) can save weeks of stress. Here’s what to gather, organise, and bring.
How to Register Your Address in Italy: What Expats Need to Know
Learn how to register address in Italy, which documents you need, what to expect at the town hall, and where delays usually happen for expats.
Essential Documents for Italy Relocation: EU & Non-EU Expats

A clear guide to essential documents for Italy relocation, from visas and housing paperwork to residency records and everyday setup documents.
Moving to Italy With an EU Passport: What to Expect

Moving to Italy with an EU passport sounds simple, but housing, residency, and utilities can still be tricky. Here’s what to expect first.
First Month in Abruzzo Checklist for Expats

Use this first month in Abruzzo checklist to handle housing, utilities, paperwork, transport, and daily life with less stress and more confidence.
 English
 Deutsch