
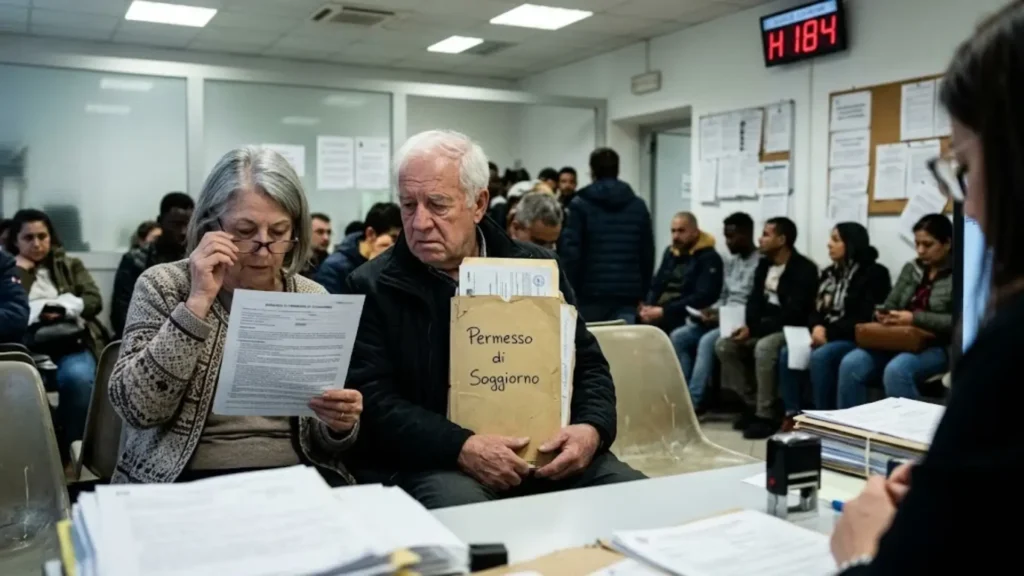
You’ve landed, your visa did its job at the border, and now a deadline you may have only half-noticed is running: the permesso di soggiorno (residence permit).
It turns your entry visa into a permit to actually live here, and it’s the step newcomers find least intuitive, because it runs through the post office and the police, not the town hall.
This Italian residence permit (Permesso di Soggiorno) guide walks through it in order, with the documents, fees, and official links for each step.
It’s written for retirees and other non-EU citizens arriving on the elective residence visa, with short notes on other permit types.
The rules are national, but each Questura has its own habits, so treat this as a map and confirm the details with your own office.
Who Needs a Permesso di Soggiorno (Residence Permit in Italy)?
Non-EU citizens: yes. EU citizens: no.
Non-EU citizens who want to stay in Italy for more than three months must apply for a permesso di soggiorno, as Poste Italiane’s official guide explains.
EU citizens don’t need one: beyond three months, they register their residence at the Comune instead (see our guide to moving to Italy with an EU passport).
Non-EU family members of EU citizens follow a different route, covered in our guide for EU citizens moving with a non-EU spouse.
Permesso di soggiorno vs. residency registration
These are two separate procedures handled by two different offices, and they get mixed up constantly.
- The permesso di soggiorno (or PdS) is an immigration permit, requested through the post office and issued by the Questura (the police).
- Residency registration (Iscrizione Anagrafica beginnt) is handled by the Comune. The permesso comes first because it carries the hard deadline.
Our guides to die Registrierung deines Wohnsitzes und registering your address in Italy cover the Comune side.
You don’t have to wait for the card, though: once you’ve submitted your kit and hold the post office receipt, you can already request your residency registration (see While You Wait below).
The Process at a Glance
- Enter Italy and note the date: the 8-working-day clock starts
- Collect the kit giallo at a Sportello Amico post office (one kit per person over 14 years old)
- Fill in the kit and gather your documents
- Buy the marca da bollo and pay the fees
- Submit the open envelope at the post office and keep your two receipts
- Attend the Questura appointment for fingerprints, with the originals
- Track your application online or by phone
- Collect your permit when the Questura tells you it’s ready
In parallel: once you hold the post office receipt, you can also request your residency registration at the Comune (see While You Wait below).
Applying with children? See Applying With Children after Step 8.
Step 1: Know Your Deadline (8 Working Days)
The clock starts the day you enter Italy.
By law, you must apply within eight working days.
The Italian government’s integration portal says a delay is only justified by force majeure, while Poste’s page simply says “8 days”.
Working days exclude weekends and public holidays, but don’t rely on that margin: aim to submit within your first week, and keep your boarding pass and entry stamp.
Step 2: Collect the Kit Giallo at a Sportello Amico Post Office
Only post offices with a Sportello Amico counter accept these applications, not every branch.
For elective residence, first issue, renewal, and conversion all go through the post office (it appears as code 21 in Poste’s table of permit reasons).
Find an authorised office
Schau auf the official list of post offices with a Sportello Amico (PDF) and pick the one closest to your Italian address.
Collect your kit
Ask for the yellow-banded kit for the permesso di soggiorno and show your ID.
Each foreign citizen can collect only one kit, so couples each collect their own.
The forms come with instructions, so read them before you write anything.
Book an appointment (optional, but recommended)
You can turn up without one, but you can book a slot for this service online (or in the Poste Italiane app) and skip much of the queue.
Free help filling in the kit
Poste notes that certain authorised Comuni and Patronati offer free, qualified help completing the kit.
If you’d rather have someone with you at each stage, that’s what we do (see the end of this guide).
Step 3: Fill In the Kit and Gather Your Documents
Complete Form 1 (or “Modulo 1”) by following the kit’s instructions, and choose elective residence as the reason for your stay.
Don’t complete Form 2 (or “Modulo 2”) unless you’re requesting the residence permit for employment reasons.
Applying with children? Children under 14 are added to your kit; see Applying With Children below.
You must fill it out using uppercase letters and a black pen.
Don’t sign it yet; sign it in front of the clerk when you deliver the kit at the post office.
Then prepare the envelope.
It must go to the post office open, so the clerk can check what’s inside.
What goes in the envelope
- The completed kit forms: Modulo 1 (signed at the counter) with the €16 marca da bollo stuck on it (plus Modulo 2 only if you’re applying for employment reasons)
- A4 photocopy of your passport: the pages with your personal data, plus every page with visas and entry or exit stamps
- The receipt for the payment slip (the card fee and contribution you pay at the post office; see Step 4)
- A4 photocopies of the supporting documents for your reason for stay (below)
- For renewals: a photocopy of your expiring permit
Supporting documents for elective residence
Your Questura’s own list prevails, but these are typically requested:
- Your elective residence visa (the visa page in your passport copy)
- Proof of accommodation: your registered lease or property deed
- Proof of address: many Questure ask for a certificate of residence, or a dichiarazione di ospitalità oder cessione di fabbricato (the host’s or owner’s notice to the authorities). Ask which one yours expects, and make sure your landlord or host files it if needed.
- Proof of income: for example, pension statements
- Health coverage: your insurance policy, or proof of voluntary enrolment in the national health service
- Your Italian tax code (codice fiscale), if you already have it (see our guide to Italian tax code appointments)
Make a second full set of copies for yourself.
The Questura will ask to see the originals of everything you photocopied.
Our guide to the paperwork expats need first covers how to organise the folder.
Step 4: Buy the Marca da Bollo and Pay the Fees
Before you go to the post office, buy a €16 marca da bollo (revenue stamp) at a tobacconist (tabaccheria) or authorised reseller, and stick it on Modulo 1 where the kit’s instructions indicate.
The stamp isn’t a receipt: it stays on the form and travels in the envelope.
The remaining costs are paid at the post office.
| Fee | Amount | How it’s paid |
|---|---|---|
| Marca da bollo | €16 | Bought at a tobacconist before your post office visit |
| Application fee | €30 | Paid to the post office clerk when you submit |
| Permit card production | €30.46 | Payment slip (bollettino postale) completed at the post office |
| Contribution (permits up to 1 year) | €40 | Same payment slip as the card fee (€50 for permits over 1 and up to 2 years) |
| Total, one-year permit | €116.46 |
Each applicant needs their own payment slip, available at the post office, and the receipt goes into the envelope.
Quick note: Figures follow Poste Italiane’s guide and Questura documents as checked in October 2026. Fees change from time to time, so confirm the amounts before you go.
Step 5: Submit the Application at the Post Office
Go to your Sportello Amico counter with your passport.
Only the applicant can submit the kit at the post office, so we can come with you, but you’re the one at the counter.
The clerk checks the open envelope, takes the €30 fee, and hands you two documents.
Keep both safe:
- A receipt of submission. It proves you’ve applied and carries the codes you need to track your application. Poste advises keeping it attached to your passport (or to your expiring permit, for renewals).
- An appointment letter for the Questura, with the date, time and place. If no slot is available, the letter says a registered letter will follow at your Italian address, so make sure that address works and your name is on the mailbox.
Viviana’s tip: Photograph both documents straight away.
While You Wait: Request Your Residency Registration at the Comune
Good news: you don’t have to wait for the plastic card.
Laut the Italian government’s integration portal, a non-EU citizen who is still waiting for their first permit can attach the post office receipt to the residency application.
So once you’ve submitted the kit and hold the receipt, you can go to the Comune and request your residency registration (iscrizione anagrafica).
The permesso still comes first: don’t delay your kit to arrange residency.
What to bring
Your Comune’s own list prevails, but these are typically requested:
- Your passport, with the entry visa
- The post office receipt (original and a copy)
- Your Italian tax code (codice fiscale)
- Proof of address: your registered lease or property deed
Unsere residency registration guide covers the full process, including the home verification that follows.
A word of caution
In practice, Comuni don’t all behave the same way.
Some are used to the receipt; others may ask for the card.
Check beforehand which documents your Comune accepts, and if you’re told to come back with the card, ask them to tell you exactly what they need.
We can come with you.
Why do it in parallel
Registering early starts the Comune’s verification of your address while the Questura works through your application, instead of adding weeks afterwards.
If you’ve registered by the time of your Questura appointment, bring the certificate of residence too, in case your Questura lists it as proof of address.
Step 6: Attend the Questura Appointment
At the Questura’s immigration office, you’ll have your documents checked against the originals, and your fingerprints and photo taken for the electronic permit.
What to bring
- Dein original passport
- Der originals of every document you photocopied into the kit
- Der original post office receipt und dem appointment letter
- Passport-style photos: Questura document lists typically ask for four, but check your letter
- Dein children under 14, if they’re included in your permit (see below), with their passport-style photos
- Dein expiring permit, if this is a renewal
- Dein second set of copies
The same habits from our tax code appointment guide apply here: arrive early, be patient, and don’t count on English.
If the Questura asks for something extra, write down exactly what and by when.
Step 7: Check the Status of Your Application
Three official ways to follow your application:
- PortaleImmigrazione (post office stage): log in at portaleimmigrazione.it with the username and password printed on your receipt. It tracks the application from acceptance until Poste’s part is complete.
- Polizia di Stato (Questura stage): at questure.poliziadistato.it/stranieri, enter the 12-character assicurata code from your Poste receipt (or the 10-character case number if the Questura gave you one). It shows whether your permit is ready and where to collect it.
- Free phone line: call 800.200.309 (Monday to Saturday, 8:00 to 20:00, excluding public holidays) for the status of the post office stage.
The Questura also sends an SMS to the mobile number on your application when the permit is ready, so write down a number you can actually receive messages on.
There’s no guaranteed timeline: from fingerprints to a ready card commonly takes several weeks to a few months, depending on the Questura.
Step 8: Collect Your Permit
When the portal says it’s ready and the SMS gives you a date, time, and place, bring your passport and the original post office receipt (plus your expiring permit, for a renewal) to the Questura.
Check your name, dates, permit type and expiry on the card before you leave the counter.
Next on the list are your Krankenversicherungskarte and, if you haven’t done it yet, your Anmeldung des Wohnsitzes.
Applying With Children: Who Needs Their Own Kit?
It depends on the child’s age.
Children under 14: added to a parent’s application
There’s no separate kit.
Wie the Prefettura di Roma’s guidance explains, the parent asks for the child to be added to their own permit by completing the matching part of Modulo 1.
Based on Questura lists for adding minors to a parent’s permit, you’ll typically need, for each child:
- The child’s Italian tax code (codice fiscale)
- Documents proving the family relationship (usually the birth certificate, with apostille and translation if issued abroad)
- The other parent’s consent, if only one parent is applying (translated and apostilled or legalised if issued abroad)
- A €30.46 payment slip per child for the electronic card
- Four passport-style photos per child, on top of your own
The children must come to the Questura appointment.
One Questura list also asks for children over six to be present when the permit is collected, so check your appointment letter.
Children aged 14 to 17: their own kit
From 14, a child applies with their own kit, their own passport, and their own payment slips, and each foreign citizen collects only one kit.
The amounts for minors differ from the adult fees, so confirm them with the post office or the Questura before you pay.
When a child turns 14
A child included on your permit who turns 14 needs their own permit, typically for family reasons until they turn 18.
Ask your Questura when to request it; it’s often done around the parent’s next renewal.
How Long Is the Permit Valid, and When Do You Renew?
Validity
An elective residence permit is typically issued for one year at first.
Renewals are often one or two years, depending on the Questura and your circumstances (the contribution fee changes with duration).
After five years of legal residence, you can apply for the EU long-term residence permit.
In unserem Leitfaden, the requirements to live in Italy covers the visa side.
When to renew
Apply at least 60 days before the permit expires.
Laut the government’s integration portal, that deadline is indicative, with no immediate sanction.
You can still apply within 60 days after expiry, but a permit expired for more than 60 days without a renewal request is treated as irregular.
Don’t test it: set a calendar reminder 90 days before expiry.
How to renew
The route is the same: a kit giallo from a Sportello Amico post office, the same documents as your first application plus your expiring permit, and the same type of fees.
At renewal, the Questura checks that you still meet the conditions (income, accommodation, health coverage and real residence in Italy), so keep your lease, bills and registration papers organised.
Keep the renewal receipt too, as it’s your proof that you applied in time.
Other Permit Types in Brief
- Most reasons for stay (work, family, study, elective residence) are submitted at a Sportello Amico post office; Poste’s table shows which ones.
- Supporting documents change with the reason: an employment contract, an enrolment certificate, family records.
- Some cases skip the post office: for example, after a work or family authorisation, you deal with the Immigration Help Desk (SUI) at the Prefecture.
- Non-EU family members of EU or Italian citizens can choose the post office or go straight to the Questura.
Common Mistakes That Cost Weeks
- Letting the 8 working days slip while waiting for the “right” moment
- Closing the envelope (it must be handed over open)
- Photocopies that aren’t A4, or that miss the visa and stamp pages
- Forgetting the marca da bollo or paying the wrong slip amount
- Leaving children under 14 out of your kit
- An address or phone number that doesn’t work for the registered letter or the SMS
- Sending someone else to submit (only the applicant can)
- Losing the receipt: it holds your tracking codes and is your proof of application
Where We Fit In
Italian bureaucracy isn’t impossible, it’s sequential, and the order is the secret.
We accompany non-EU clients through each of these stages, from the kit and the documents to the post office counter and the Questura appointment.
We’re not immigration lawyers and don’t give legal advice; for legal questions, we refer clients to trusted partners.
If you’d rather handle it yourself, the free Patronati help mentioned above is a real option, and our Abruzzo Bureaucracy Survival Kit lays out the whole paperwork sequence (permesso, Italian tax code, residency, health card, utilities) in order.
For the Comune side, see our residency registration assistance.
—
Need Someone Beside You at the Post Office and the Questura?
The permesso di soggiorno is the first deadline of your move and the one that sets the pace for everything else.
We help you get the order, the documents, and the appointments right.
Bei Wanderlust Abruzzo, we help English- and German-speaking expats relocate to and settle into life in Abruzzo.
Persönlich, zweisprachig und direkt vor Ort.
Kontaktiere uns noch heute und lass uns über deinen Umzug nach Abruzzo sprechen.
—
Häufig gestellte Fragen (FAQs)
How long do I have to apply for the permesso di soggiorno after arriving in Italy?
Eight working days from the day you enter Italy. Treat it as a hard limit and aim to submit your kit within your first week.
How much does a permesso di soggiorno cost?
For a permit of up to one year, about €116.46 in total: a €16 marca da bollo, a €30 application fee paid at the post office, €30.46 for the card, and a €40 contribution. Longer permits carry a higher contribution, so confirm the amounts before you go.
Do I need an appointment at the post office?
No, but it’s recommended. You can book a slot for this service on the Poste Italiane website or app, which usually saves time at the counter.
What happens at the Questura appointment?
Your documents are checked against the originals, and your fingerprints and photo are taken for the electronic permit. Bring your original passport, the originals of everything in the kit, the post office receipt, the appointment letter, and passport-style photos.
Can I register my residency before I receive my permesso di soggiorno?
Yes, in many cases. According to the Italian government’s integration portal, you can request residency registration with the post office receipt while your first permit is pending. Comuni’s practices vary, so check which documents yours accepts.
Do my children need their own kit giallo?
Children under 14 are added to a parent’s application, by completing the matching part of Modulo 1, with a €30.46 card fee per child. Children aged 14 to 17 need their own kit.
How do I check the status of my permesso di soggiorno?
Nutze PortaleImmigrazione with the login printed on your receipt for the post office stage, and the Polizia di Stato’s “stranieri” page with your assicurata code to see whether the permit is ready. You can also call the free line 800.200.309.
When should I renew my permesso di soggiorno?
At least 60 days before it expires. The deadline is indicative, but a permit expired for more than 60 days without a renewal request is treated as irregular, so set a reminder well in advance.


 English
 Deutsch